


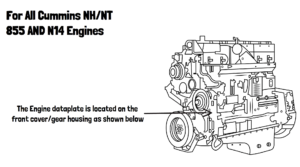
Introduction
A full engine rebuild is necessary when a Cummins N14 experiences significant wear, excessive blowby, loss of compression, oil consumption, or catastrophic failure. Proper disassembly, cleaning, inspection, and reassembly following OEM torque specifications are critical to restoring the engine to peak performance and longevity.
This guide provides a detailed, step-by-step process for rebuilding your Cummins N14 engine, including component inspection, reassembly procedures, and torque specifications to ensure a reliable and durable rebuild.
Parts Catalog for N14 Cummins Industrial Engines
A. Engine Disassembly

Before beginning disassembly, ensure you have a clean, organized workspace , all necessary tools, and a way to store parts safely. Label components during removal to simplify reassembly.
1. Preparation & Safety Measures
- Park the vehicle on a flat surface and engage the parking brake .
- Disconnect the battery to avoid accidental electrical shorts.
- Drain all fluids (coolant, oil, and fuel).
- Use an
engine hoist
for safe removal of heavy components.
2. Remove External Components
- Remove the fan, belts, and radiator to access the front of the engine.
- Detach the turbocharger and exhaust manifold .
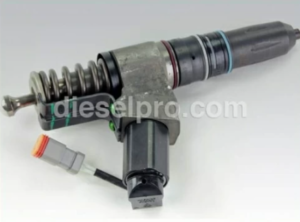
- Disconnect the fuel system , including injectors and fuel pump.
- Remove
wiring harnesses
and ECM if equipped with CELECT™ or CELECT™ Plus.
3. Cylinder Head & Valve Train Removal
- Unbolt and remove the valve cover .
- Mark the push rods and rocker arms to reinstall them in their original locations.
- Loosen head bolts in sequence to prevent warping.
- Carefully lift the
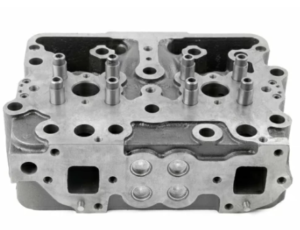
cylinder head
with a hoist.
4. Piston & Connecting Rod Removal
- Rotate the crankshaft to BDC (Bottom Dead Center).
- Remove the oil pan and unbolt the connecting rod caps .
- Push pistons and connecting rods out of the top of the block.
- Inspect rod bearings for
wear or scoring
.
5. Camshaft & Crankshaft Removal
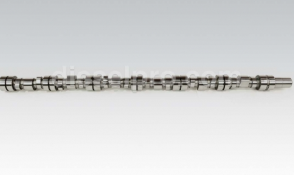
- Remove the timing gears and cam followers .
- Carefully slide out the camshaft to avoid damage to lobes and bearings.
- Unbolt
main bearing caps
and carefully remove the
crankshaft
.
Rebuild Kit & Related Components for Cummins N14 Industrial Engine
B. Cleaning & Inspection

A clean, properly inspected engine block ensures a successful rebuild . Skipping this step can lead to premature failure.
1. Cleaning the Block & Cylinder Head
- Steam clean the block and head to remove oil, dirt, and carbon buildup.
- Use plastic bead blasting for stubborn deposits (avoid sandblasting).
- Clean all
oil passages and coolant jackets
using compressed air.
2. Crack & Warping Inspection
- Use a magnetic particle test or dye penetrant to check for cracks.
- Place a straight edge across the block deck and head surface .
- Measure warping with
feeler gauges
(excessive warping requires resurfacing).
3. Inspect Cylinder Liners & Pistons
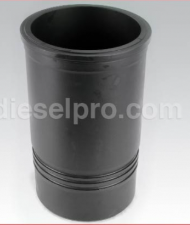
- Check cylinder liners for scoring, pitting, or excessive wear.
- Measure cylinder bore diameter with a bore gauge (tapered bores require re-honing or new liners).
- Inspect
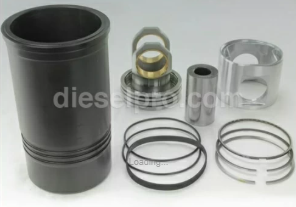
piston rings and grooves
for excessive clearance or damage.
4. Connecting Rod & Crankshaft Inspection
- Check connecting rods for twisting, bending, or small end wear .
- Measure rod bearing clearance with Plastigage® .
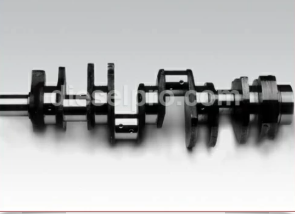
- Inspect crankshaft journals for scoring or out-of-round wear.
- Check
main bearing saddles
for proper alignment.
C. Engine Reassembly & Torque Specifications
Reassembly requires precision and adherence to OEM specifications . Using the correct torque sequence and clearances ensures longevity and performance.
1. Installing the Crankshaft & Bearings
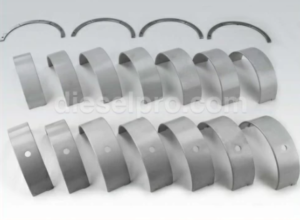
- Lubricate main bearings with assembly lube.
- Carefully lower the
crankshaft
into position.
- Install
new main bearings
and torque
main caps
:
- 30 ft-lb , then an additional 90° turn (angle torque method).
- Check
crankshaft end play
(normal clearance:
0.003”–0.015”
).
2. Piston & Connecting Rod Installation
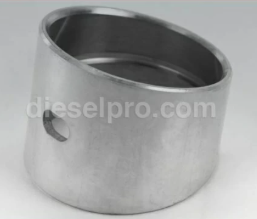
- Install new piston rings (ensure correct orientation).
- Apply engine oil to cylinder walls and piston skirts .
- Insert pistons carefully using a
ring compressor
.
- Torque
connecting rod caps
:
- 50 ft-lb + 60° turn
(check rod side clearance:
0.010”–0.020”
).
- 50 ft-lb + 60° turn
(check rod side clearance:
0.010”–0.020”
).
3. Camshaft & Timing Gear Installation
- Lubricate camshaft lobes and bearings with assembly lube .
- Carefully insert the camshaft into position.
- Align and
install timing gears
, ensuring proper timing marks match.
4. Cylinder Head & Valve Train Assembly
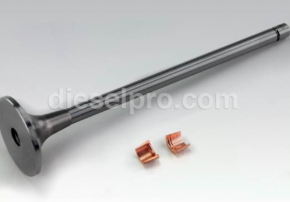
- Use new head gaskets and align the cylinder head properly.
- Torque
cylinder head bolts in sequence
:
- 90 ft-lb (initial), then 150 ft-lb, final 90° turn
.
- 90 ft-lb (initial), then 150 ft-lb, final 90° turn
.
- Install
push rods, rocker arms, and adjust valve lash
:
- Intake: 0.014”
- Exhaust: 0.027”
5. Fuel Injector Installation & Priming the Lubrication System
- Install fuel injectors and torque hold-down bolts to 40 ft-lb .
- Prime the
oil system
by filling
oil galleries and pump
before startup.
Final Checks & Engine Startup
Once the rebuild is complete , take the following steps before starting the engine.
1. Pre-Start Inspection
- Double-check all torque settings and component alignments .
- Verify that
all sensors and wiring connections
are properly secured.
2. Priming the Fuel System
- Fill the fuel filter with diesel and prime the fuel pump manually.
- Bleed air from
fuel lines and injectors
using a sight glass.
3. Initial Engine Start & Break-In Procedure
- Start the engine and let it idle at 900-1000 RPM .
- Monitor oil pressure (30–45 psi) and coolant temperature .
- Run at
varying loads and speeds
for the first
100 hours
to seat rings properly.
Common Issues & Troubleshooting After a Rebuild
1. Engine Won’t Start
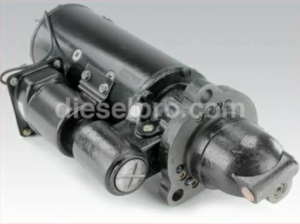
- Check battery voltage and starter motor function .
- Ensure fuel system is primed and injectors are bled .
- Verify
ECM settings (if applicable)
.
2. Low Oil Pressure
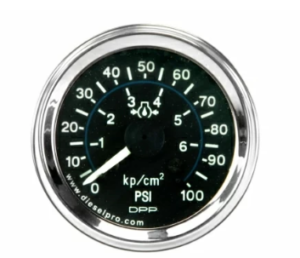
- Check for oil leaks or improperly installed bearings .
- Verify
oil pump function
and
pressure relief valve operation
.
3. Overheating Issues
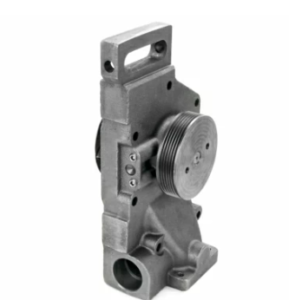
- Ensure coolant is circulating properly and thermostat is functional .
- Verify
radiator and water pump operation
.
4. Excessive Smoke from Exhaust
- Black smoke: Overfueling due to faulty injectors.
- White smoke: Coolant leaking into combustion chamber.
- Blue smoke:
Excessive oil consumption from worn valve seals.
Conclusion
Rebuilding a Cummins N14 engine is a complex but rewarding process when done correctly. By following OEM specifications , inspecting all components thoroughly, and ensuring proper torque settings , you can restore your engine to like-new performance .
Always perform final checks and a proper break-in procedure to maximize reliability and efficiency. If you encounter any issues , refer to the troubleshooting section to diagnose and correct problems early.
A properly rebuilt Cummins N14 will deliver years of dependable service , making the investment in time and effort well worth it!
Parts Catalog for N14 Cummins Industrial Engines