November 12, 2024
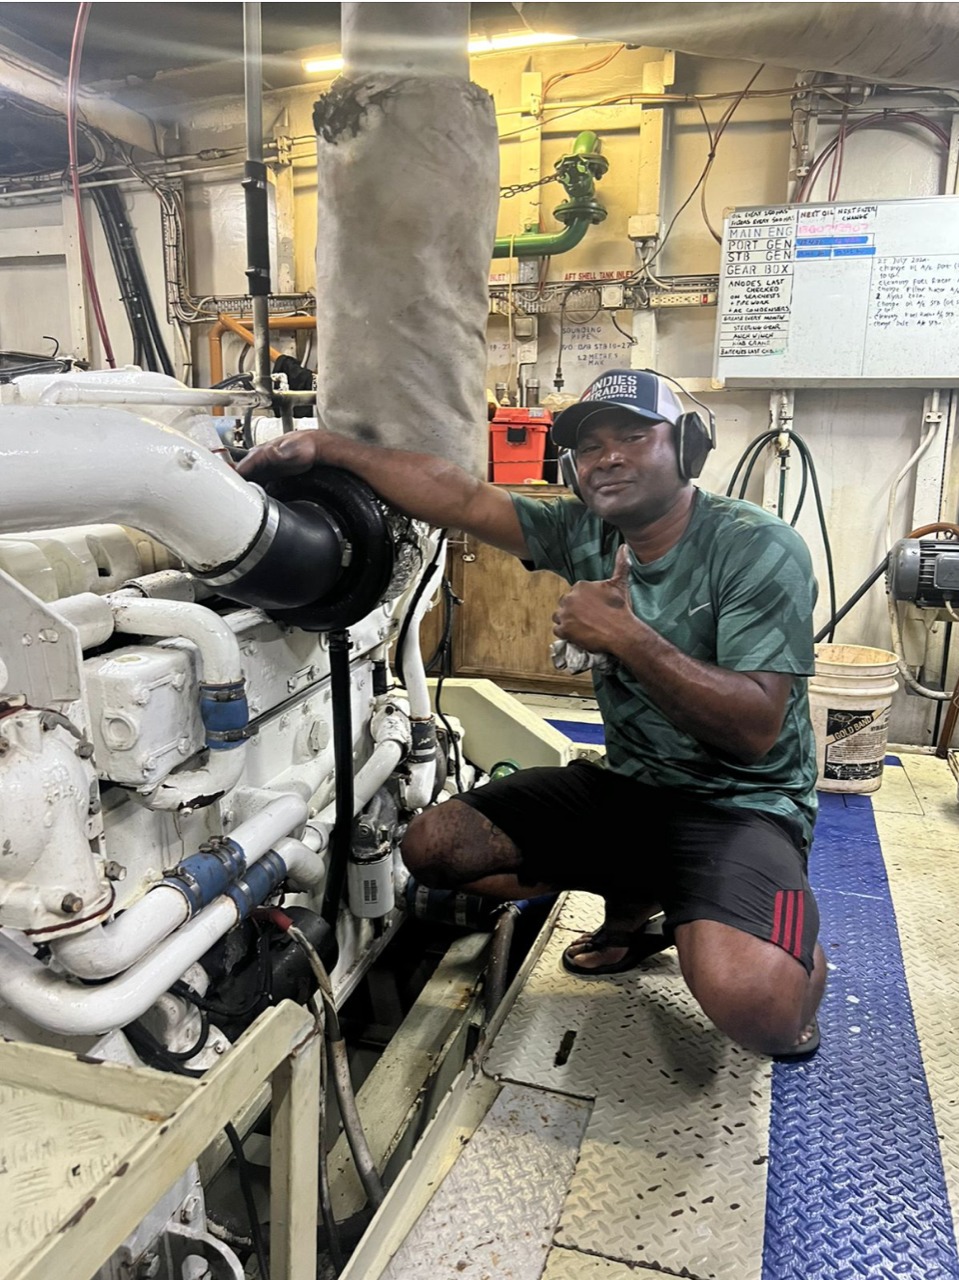
"1 is none, 2 is 1, 3 is 2. Redundancy on spares and a supplier who understands your business, machinery and logistics is worth its
weight in gold."
Tell us about your business: What services/products do you provide, and what types of vessels or marine applications do you work with?
What kind of marine engines do you use, and how do they support your operations?
Why did you choose Diesel Pro Power, Inc. for your business needs?
How have our products helped you improve your work efficiency or solve specific challenges?
Can you share a memorable project or achievement in your business involving our parts or services?
What advice would you give to others in the marine industry about engine maintenance or upgrades?
Anything else you'd like to share about your business or your experience with us?
At Diesel Pro Power, we provide a comprehensive range of aftermarket parts for the Cummins KTA19 engine, designed to enhance performance, reliability, and longevity. Our catalog includes:
At Diesel Pro Power, we provide a comprehensive range of aftermarket parts for the Cummins 6CTA 8.3L engine, designed to enhance performance, reliability, and longevity. Our catalog includes:
Read More
November 11, 2024
Safe Cleaning Methods: Steam, Solvent Tanks, and Compressed Air
Steam Cleaning:
Solvent Tanks:
Compressed Air:
Ultrasonic Cleaning (if available):
Cleaning Critical Components: Careful Handling of Injector Tubes, Valves, and Head Gaskets
Injector Tubes:
Valves:
Valve Seats and Guides:
Read More
November 11, 2024
Cylinder Block Inspection for Detroit Diesel 149 Series Engines (8V149, 12V149, 16V149)
1. Key Areas to Inspect
2. Tools for Inspection
3. Inspection Process
4. Preventive Measures
Cylinder Head Inspection for Detroit Diesel 149 Series Engines (8V149, 12V149, 16V149)
Importance of Cylinder Head Inspection
Inspection Process
Tools and Techniques
When to Repair or Replace
Preventive Measures
Valve Wear Inspection for Detroit Diesel 149 Series Engines (8V149, 12V149, 16V149)
Common Causes of Valve Wear
Key Areas to Inspect
Inspection Process
Maintenance and Repair
Preventive Measures
Piston and Cylinder Wear: Inspection and Maintenance For Detroit Diesel 149 Series (8V149, 12V149, 16V149)
Common Causes of Wear
Key Areas to Inspect
Inspection Process
Repair and Maintenance
Preventive Measures
Signs of Piston and Cylinder Wear
Injector Condition: Inspection and Maintenance For Detroit Diesel 149 Series Engines (8V149, 12V149, 16V149)
Common Signs of Injector Issues
Inspection Process
Maintenance Steps
Preventive Measures
Cooling System Check for Detroit Diesel 149 Series Engines (Marine and Non-Marine Applications) (8V149, 12V149, 16V149)
Key Components in Cooling Systems
Universal Components (Marine and Non-Marine Applications)
Marine-Specific Components
Non-Marine-Specific Components
Inspection and Maintenance Procedures
Preventive Measures
Signs of Cooling System Problems
Crankshaft and Bearing Wear: Inspection and Maintenance For Detroit Diesel 149 Series Engines (8V149, 12V149, 16V149)
Common Causes of Crankshaft and Bearing Wear
Inspection Process
Repair and Maintenance
Preventive Measures
Signs of Crankshaft and Bearing Wear
Read More
November 11, 2024
What is Valve Clearance In Detroit Diesel 149 Series Engines?
Step-by-Step Valve Clearance Adjustment Procedure For Detroit Diesel 149 Series Engines (8V149, 12V149, 16V149)
1. Prepare the Engine
2. Position the Cylinder
3. Measure Valve Clearance
4. Adjust Valve Clearance
5. Repeat for All Cylinders
6. Recheck Adjustments
Additional Notes for Mechanics
Why Mechanics, Fleet Managers, and Fleet Owners Choose Diesel Pro Power for Detroit Diesel 149 Series Cylinder Heads & Components
Read More
November 11, 2024
Overview
Step 1: Preparation
Safety First
Set Controls
Gather Required Tools
Step 2: Position the Cylinder for Adjustment
Identify the Cylinder
Firing Orders for 149 Series Configurations
Select the Starting Cylinder
Locate the Cylinder Position
Key Notes for Cylinder Identification
Rotate the Crankshaft
Verify Alignment
Tips for Accurate Positioning
Step 3: Attach the Injector Timing Gauge
Install the Timing Tool
Set Timing Dimensions
Tips for Accuracy
Step 4: Adjust the Injector Timing
Loosen the Locknut
Adjust the Plunger Height
Secure the Adjustment
Tips for Success
Step 5: Repeat for All Cylinders
Follow the Firing Order
Maintain Consistency
Post-Adjustment Checks
Start the Engine
Final Verification
Critical Tips for Success
Critical Notes for Mechanics
Precision is Key
Inspect Components
Document Adjustments
Temperature Considerations
Additional Tips for Mechanics
Read More
November 11, 2024
Step 1: Preparation
Safety First
Set Controls
Gather Required Tools
Step 2: Position the Cylinder for Adjustment
Identify the Cylinder
Firing Orders for 149 Series Configurations
Select the Starting Cylinder
Locate the Cylinder Position
Key Notes for Cylinder Identification
Rotate the Crankshaft
Verify Alignment
Tips for Accurate Positioning
Step 3: Attach the Injector Timing Gauge
Install the Timing Tool
Set Timing Dimensions
Tips for Accuracy
Step 4: Adjust the Injector Timing
Loosen the Locknut
Adjust the Plunger Height
Secure the Adjustment
Tips for Success
Step 5: Repeat for All Cylinders
Follow the Firing Order
Maintain Consistency
Post-Adjustment Checks
Start the Engine
Final Verification
Critical Tips for Success
Critical Notes for Mechanics
Precision is Key
Inspect Components
Document Adjustments
Temperature Considerations
Additional Tips for Mechanics
What is Valve Clearance?
Step-by-Step Adjustment Procedure
1. Prepare the Engine
2. Position the Cylinder
3. Measure Valve Clearance
4. Adjust Valve Clearance
5. Repeat for All Cylinders
6. Recheck Adjustments
Additional Notes for Mechanics
Read More

Page 42 of 86
« First
«
...
10
20
30
...
40
41
42
43
44
...
50
60
70
...
»
Last »


